🐒 How to Get All 9 Shards & Unlock the Free 2x Treadmill in +1 Speed Monkey Escape
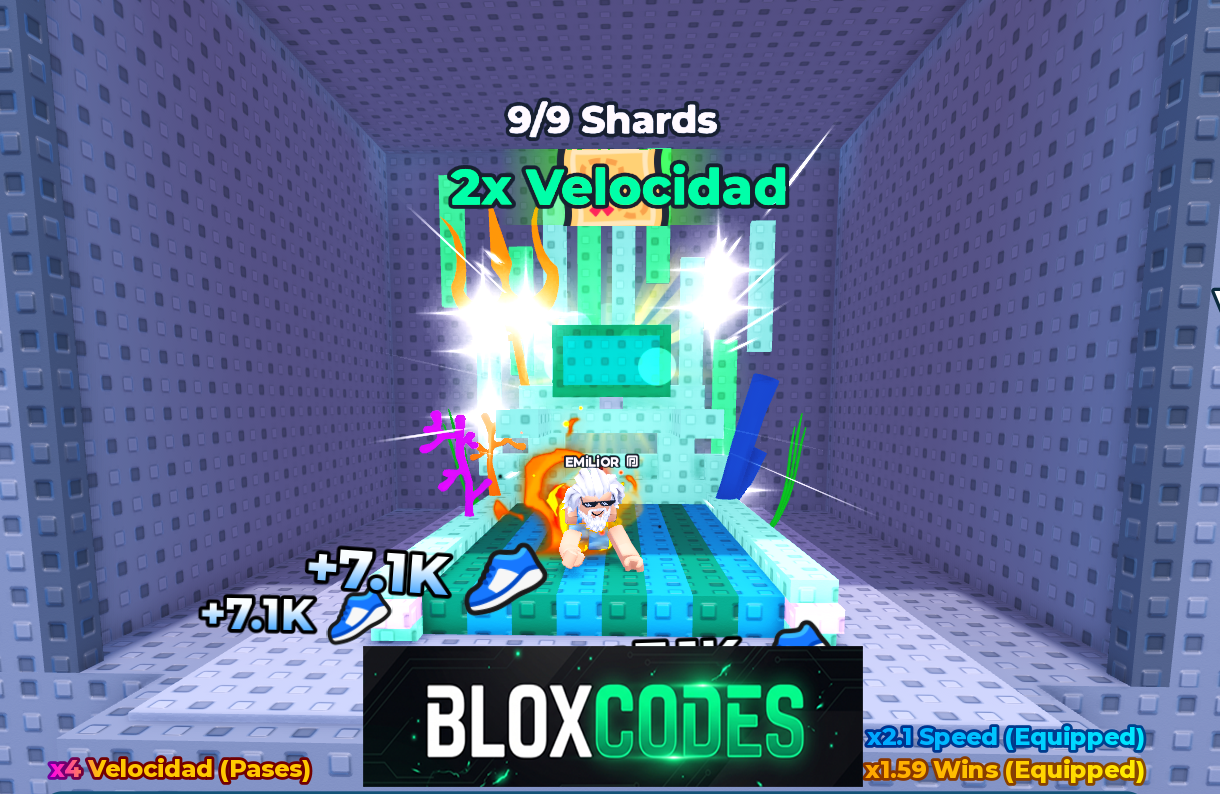
Are you playing 🐒 +1 Speed Monkey Escape on Roblox and still haven’t unlocked the Free 2x Treadmill? In this complete walkthrough, we will show you the exact locations of all 9 hidden Shards scattered across World 1 so you can activate your permanent speed boost without spending Robux!
📍 Where is the Free 2x Treadmill Located?
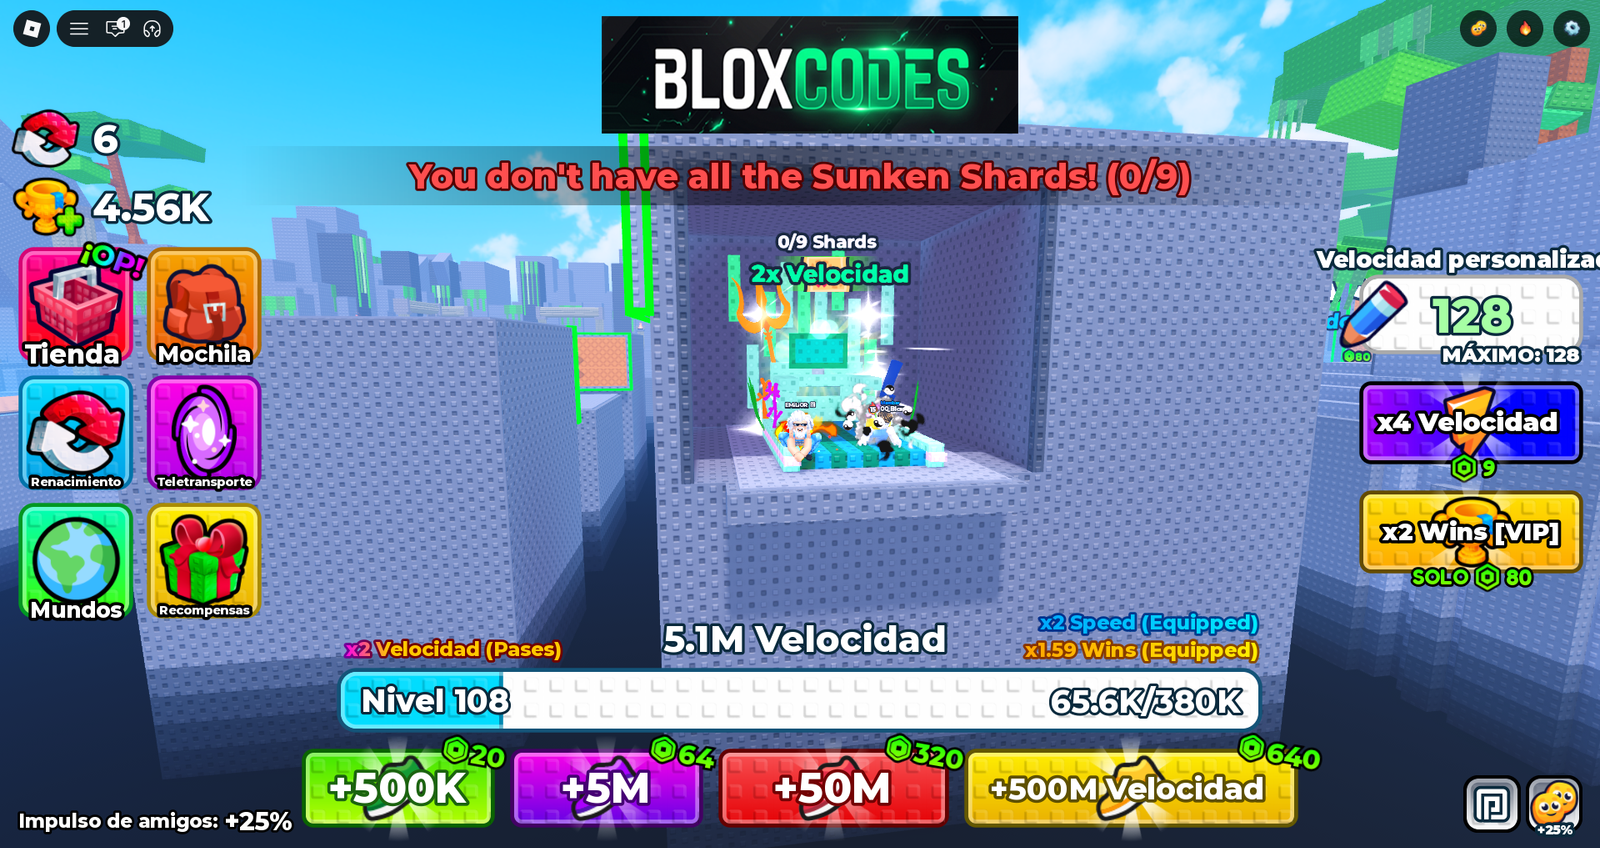
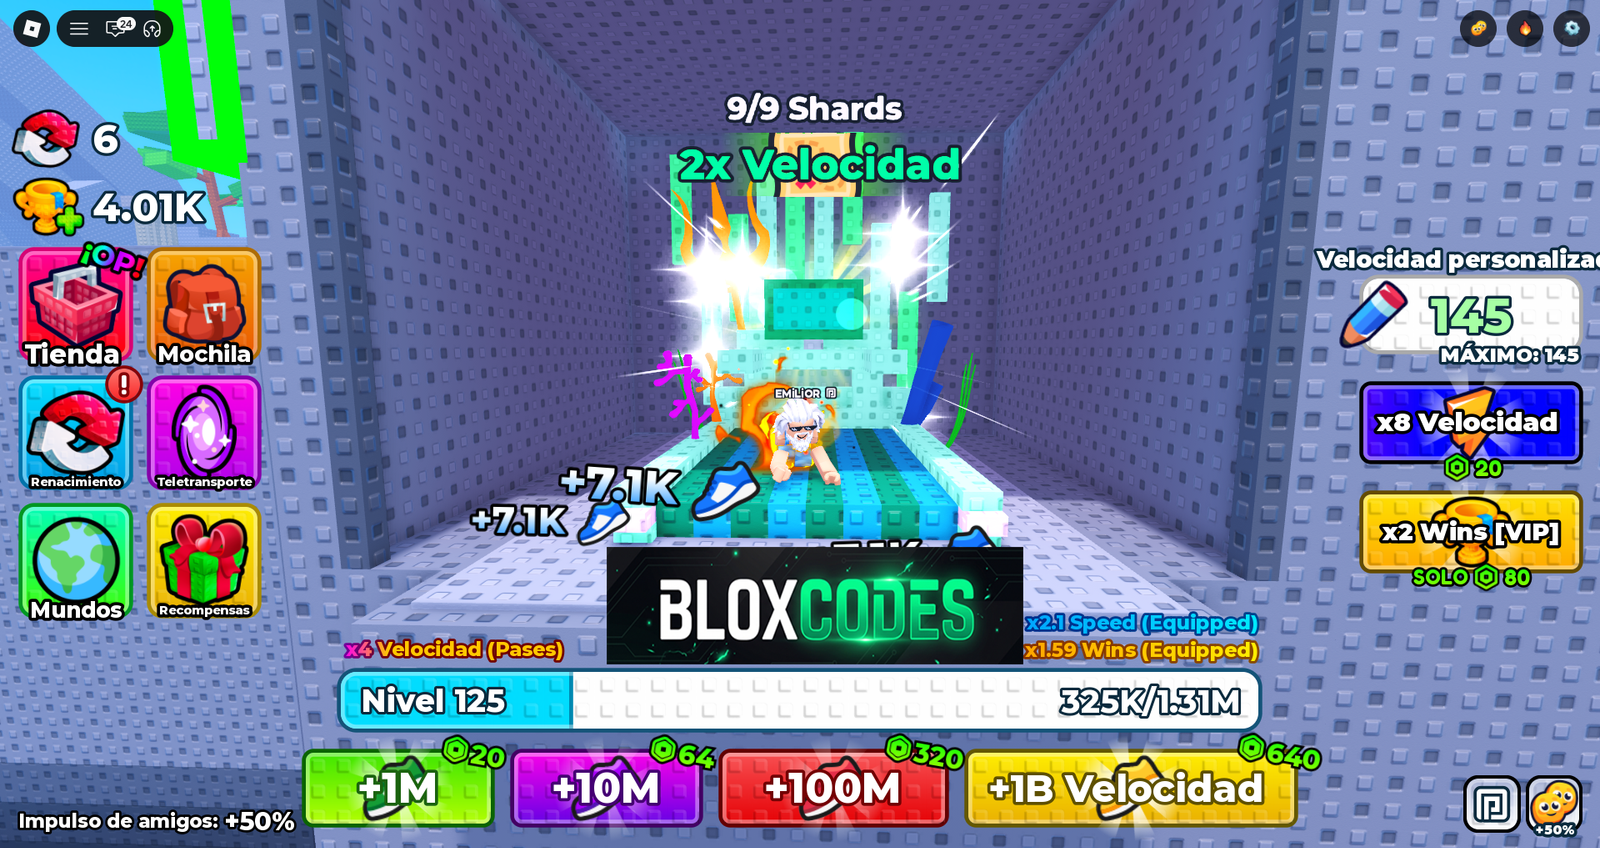
Before hunting down the shards, you should know where the special treadmill is located. It is hidden in Stage 2, on the far right side behind the terrain mounds (it is not in the starting lobby). Once you collect all 9 shards, this is where you need to return to claim your x2 speed multipliers.
🧭 All 9 Shard Locations in World 1
Shard #1: Main Lobby (Leaderboard Sign)
The very first shard is located right in the Lobby. Turn to the left where the game record boards and leaderboards are displayed. Walk behind the center leaderboard sign to pick up your first crystal.
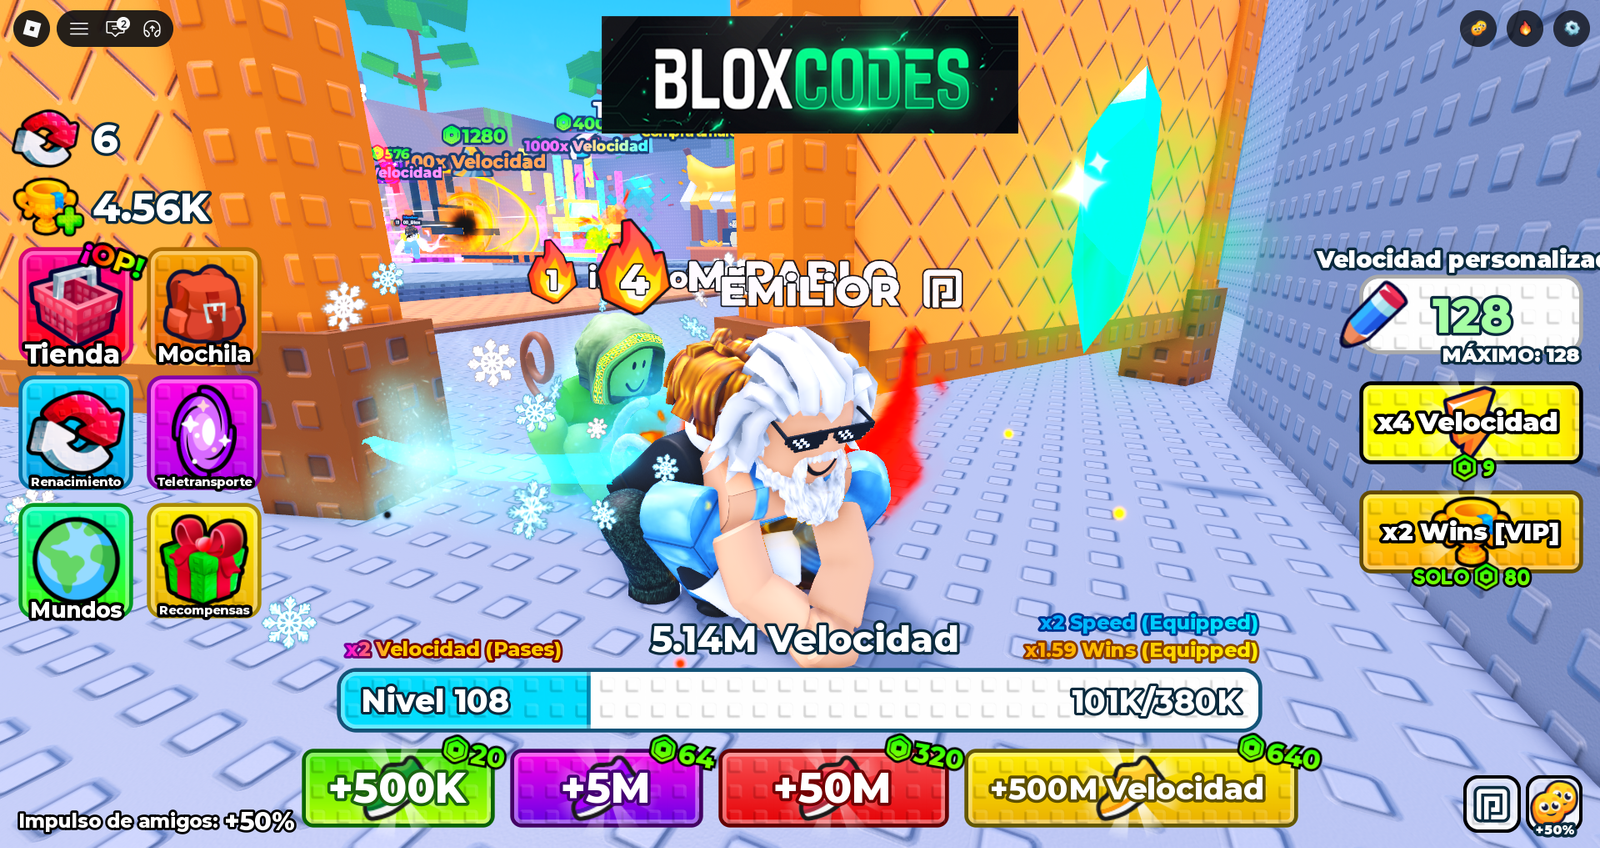
Shard #2: Main Lobby (Step Upgrade Tree)
The second shard is also inside the Lobby. Climb the giant tree where players upgrade their step speed. Reach the highest branch and check directly behind the tree trunk to find Shard #2.
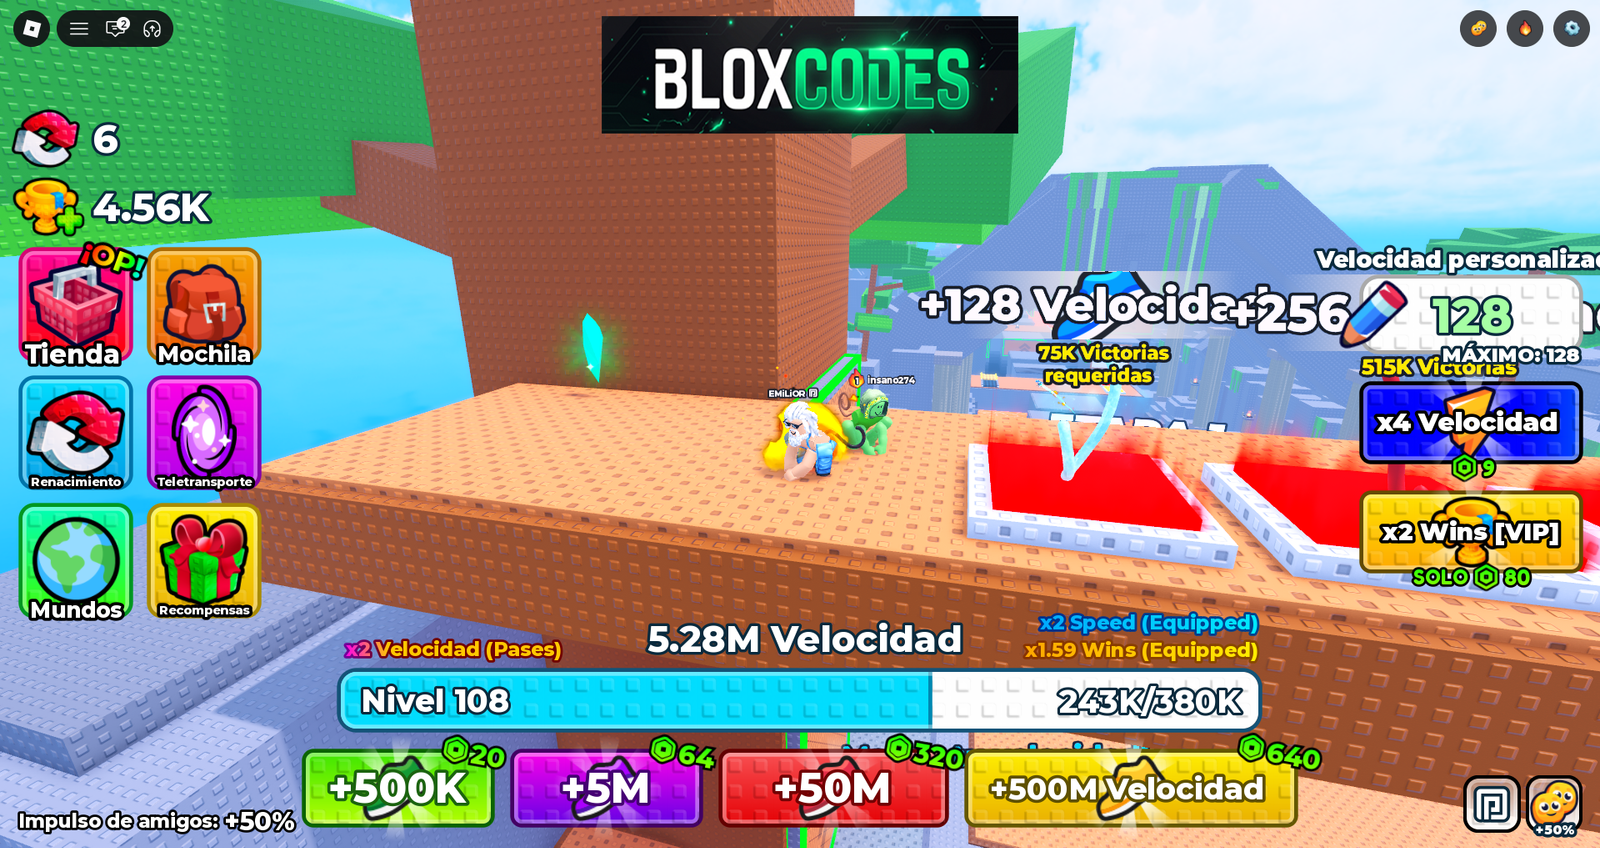
Shard #3: Stage 2 (Opposite Side of Treadmill)
Head into Stage 2. This shard is located on the opposite side of where the 2x Treadmill is hidden. Jump up onto the boundary walls on the left side of the stage and drop down behind the first wall section to grab it.
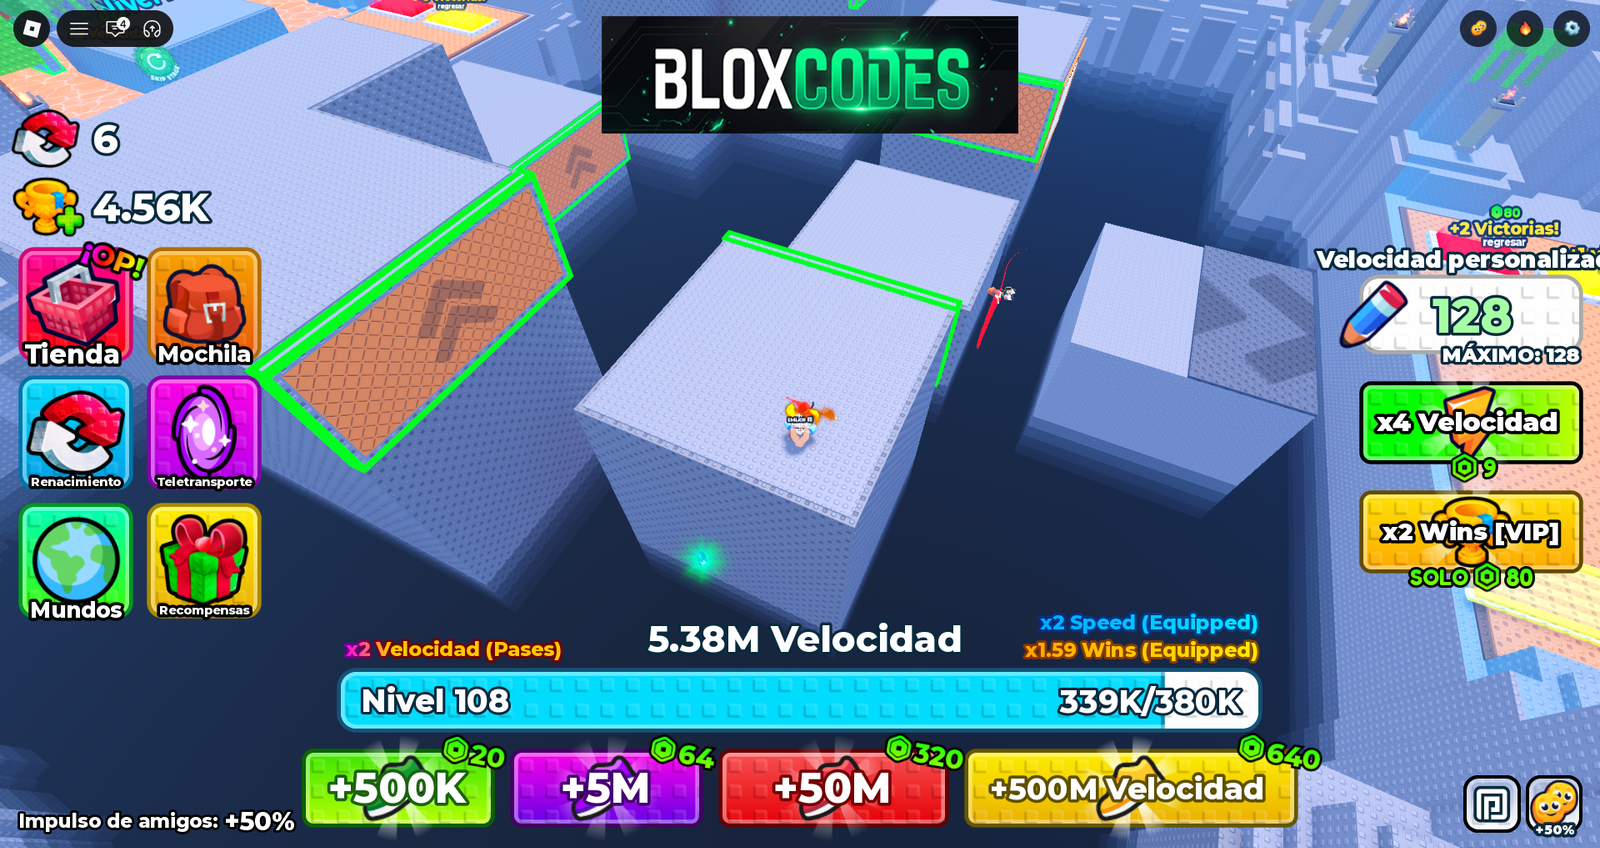
Shard #4: Stage 3 (Side Walls)
Inside Stage 3 (the side wall obstacle section), proceed along the track. Climb onto the top of the outer walls and drop down behind the last wall section on the right. It might take a couple of careful jumps to line up the drop.
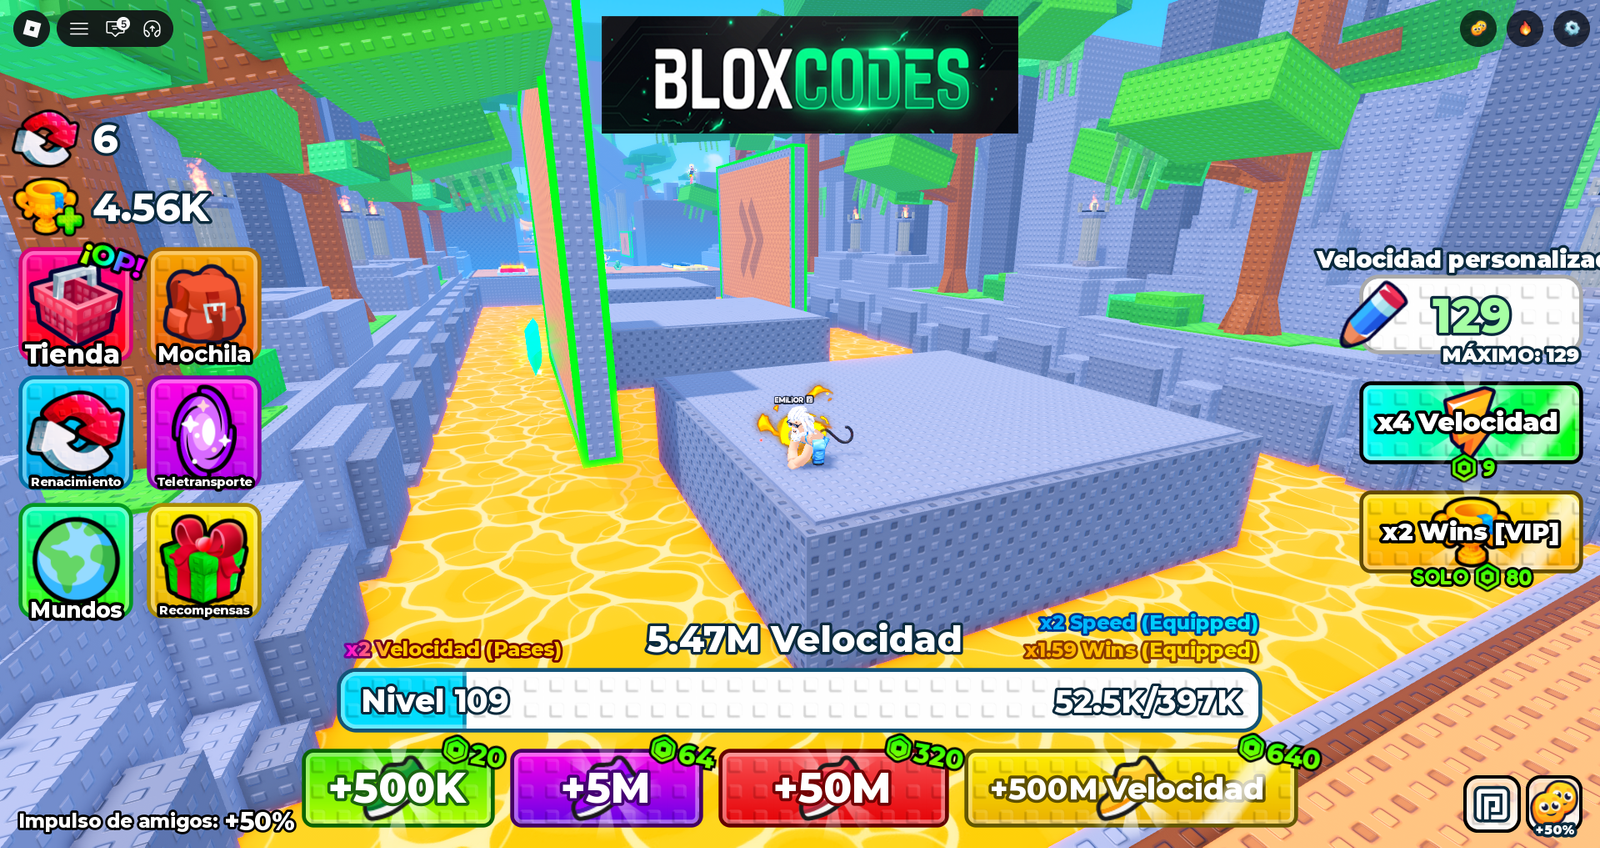
Shard #5: Stage 4 (Closing Wall Traps)
In Stage 4, you will encounter closing crushing walls. Wait for the walls to shut, jump onto the top of the left-hand wall, and sprint all the way to the far end where the fifth shard sits waiting.
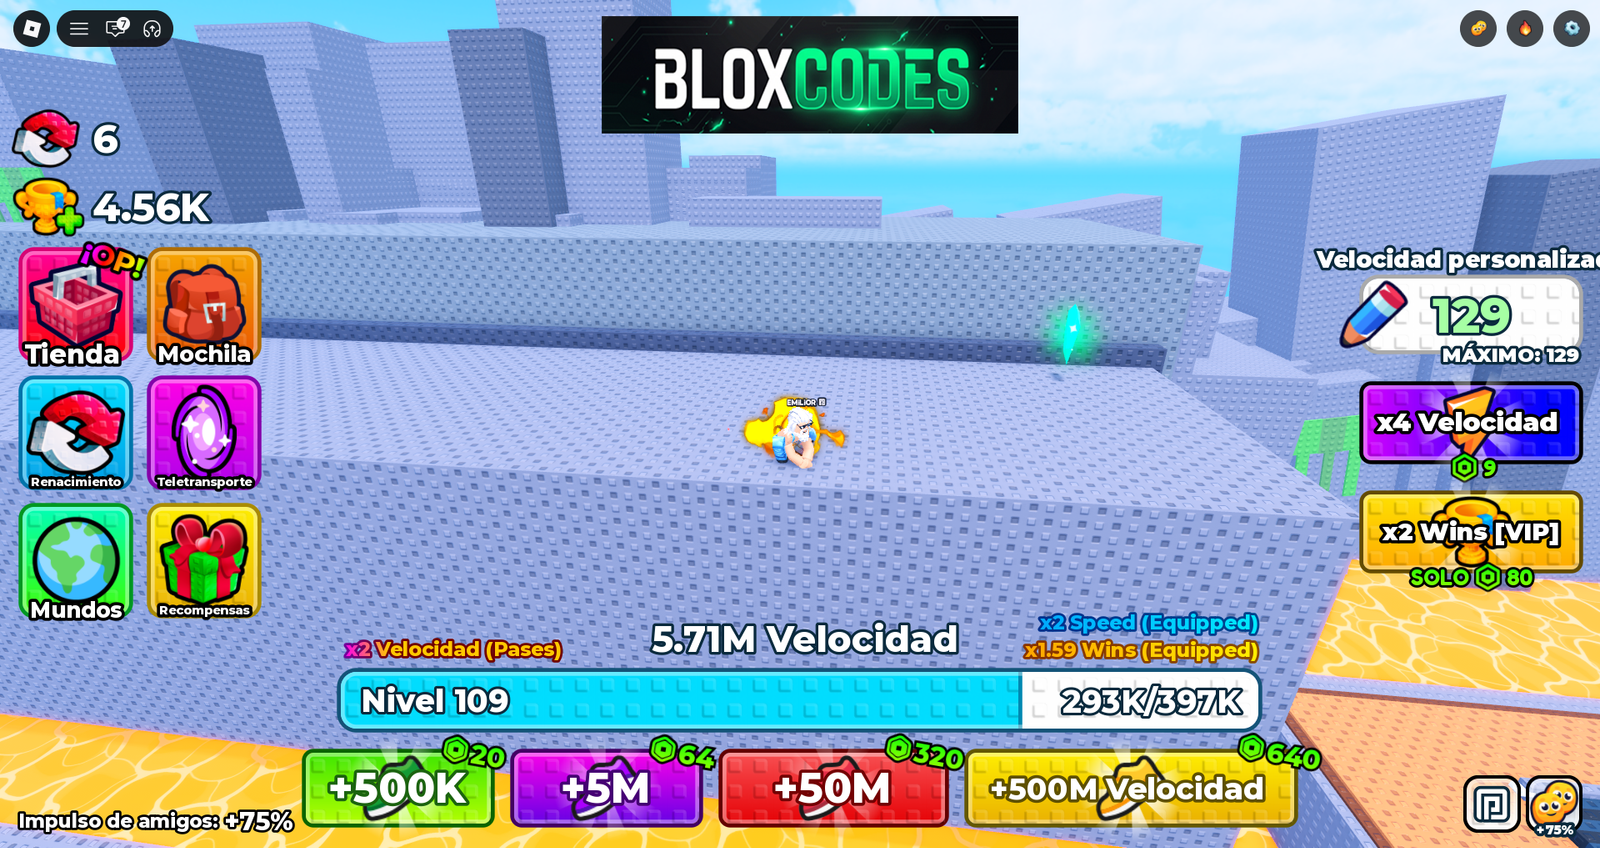
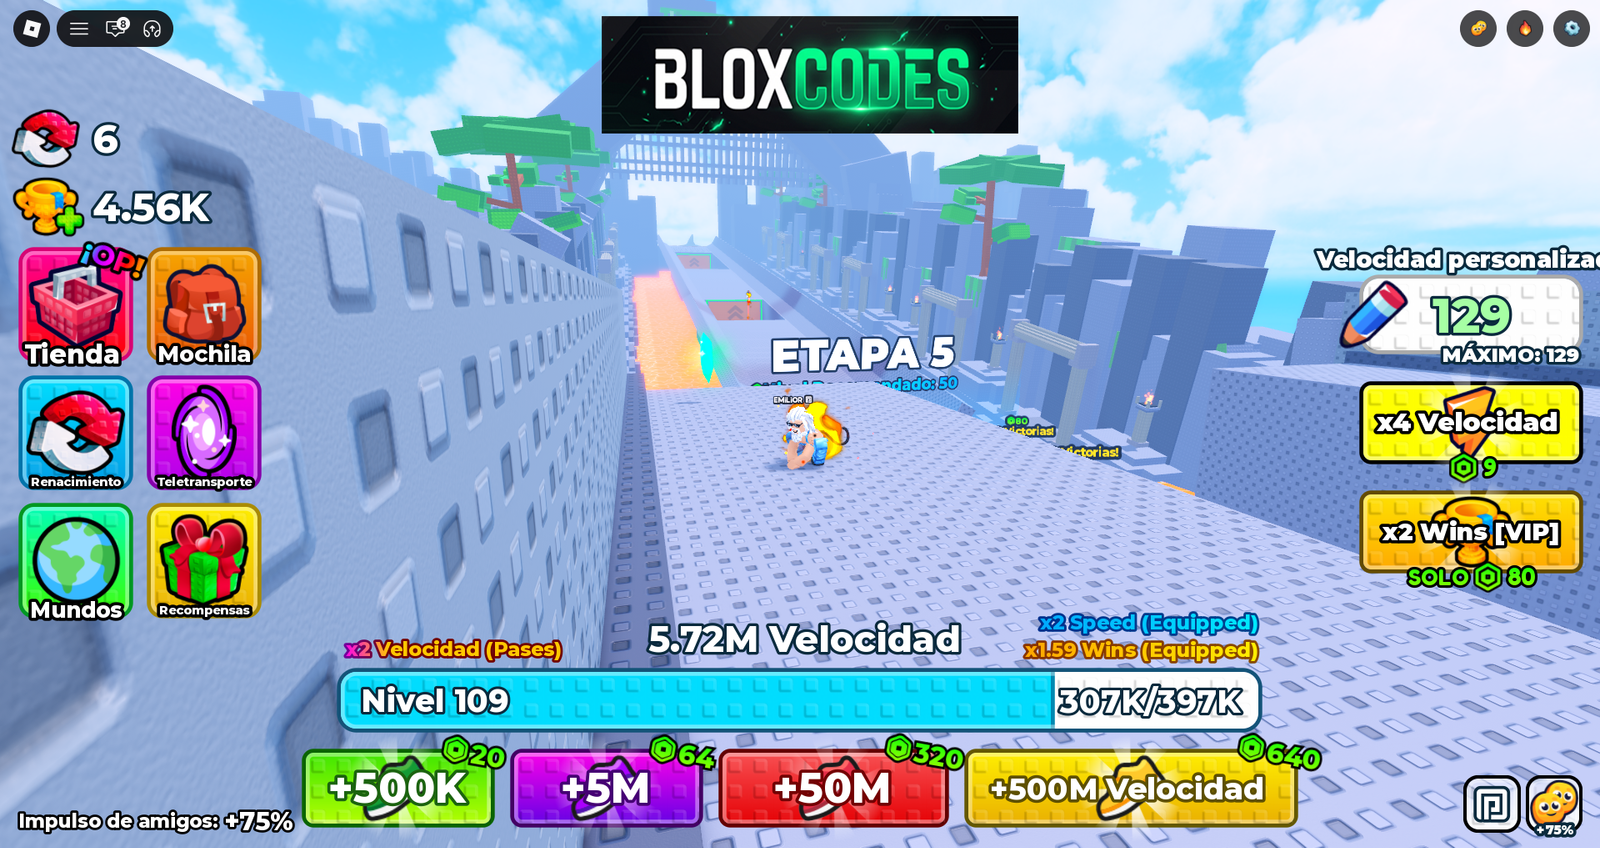
Shard #6: Stage 6 (Shark Hazard Area)
Advance to Stage 6 (the Shark arena). The shard is tucked behind the central obstacle block in the middle of the arena. Pro tip: Instead of dropping straight down into the danger zone, position yourself on the previous wall, turn around, and jump directly toward the back of the center block to stay clear of the shark.
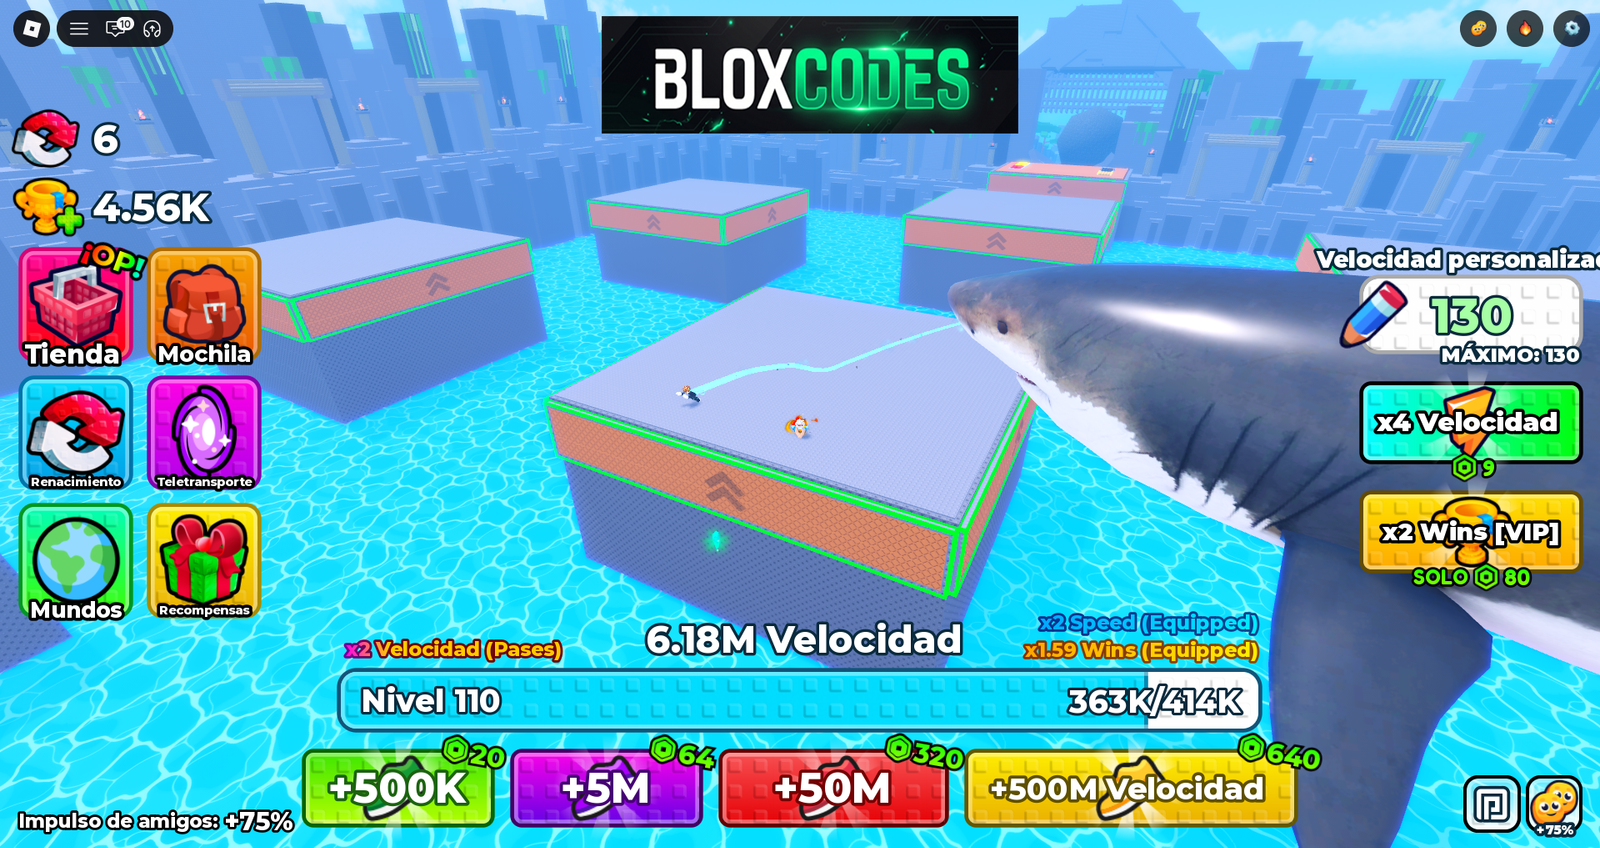
Shard #7: Stage 7 (Right Side High Wall)
In Stage 7, swing across the tree branch to reach the elevated wall section. Staying high above the course makes spotting the crystals much simpler. Head to the far right side of the stage to collect the 7th shard.
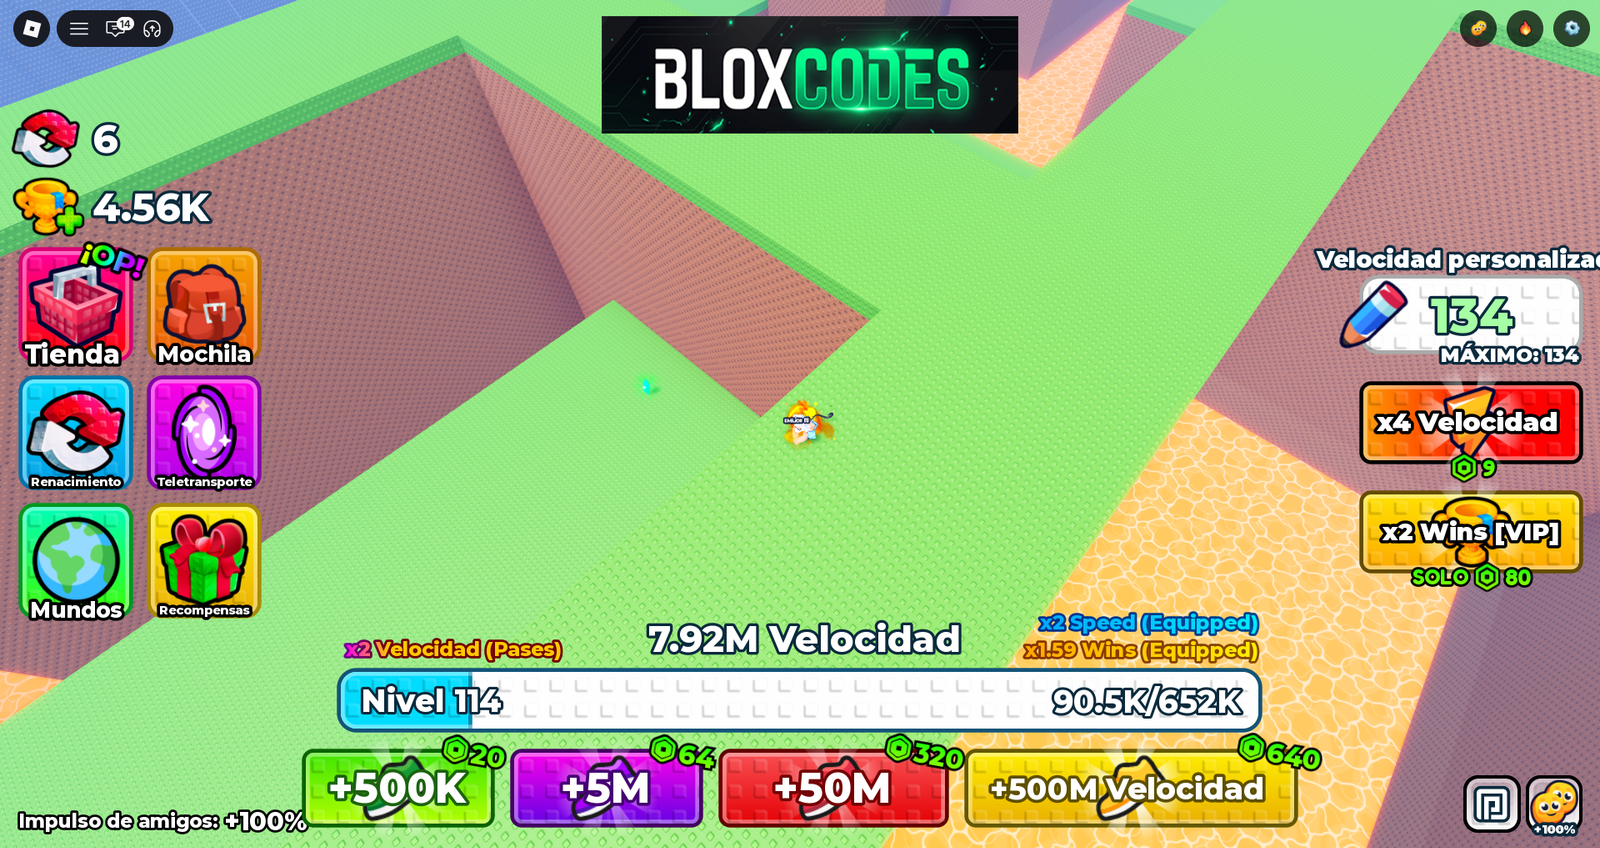
Shard #8: Stage 7 (Left Side High Wall)
Stay within Stage 7 for the next shard. From the high wall positions, navigate all the way across to the far left side of the area. Drop down carefully onto the ledge shown below to grab Shard #8.
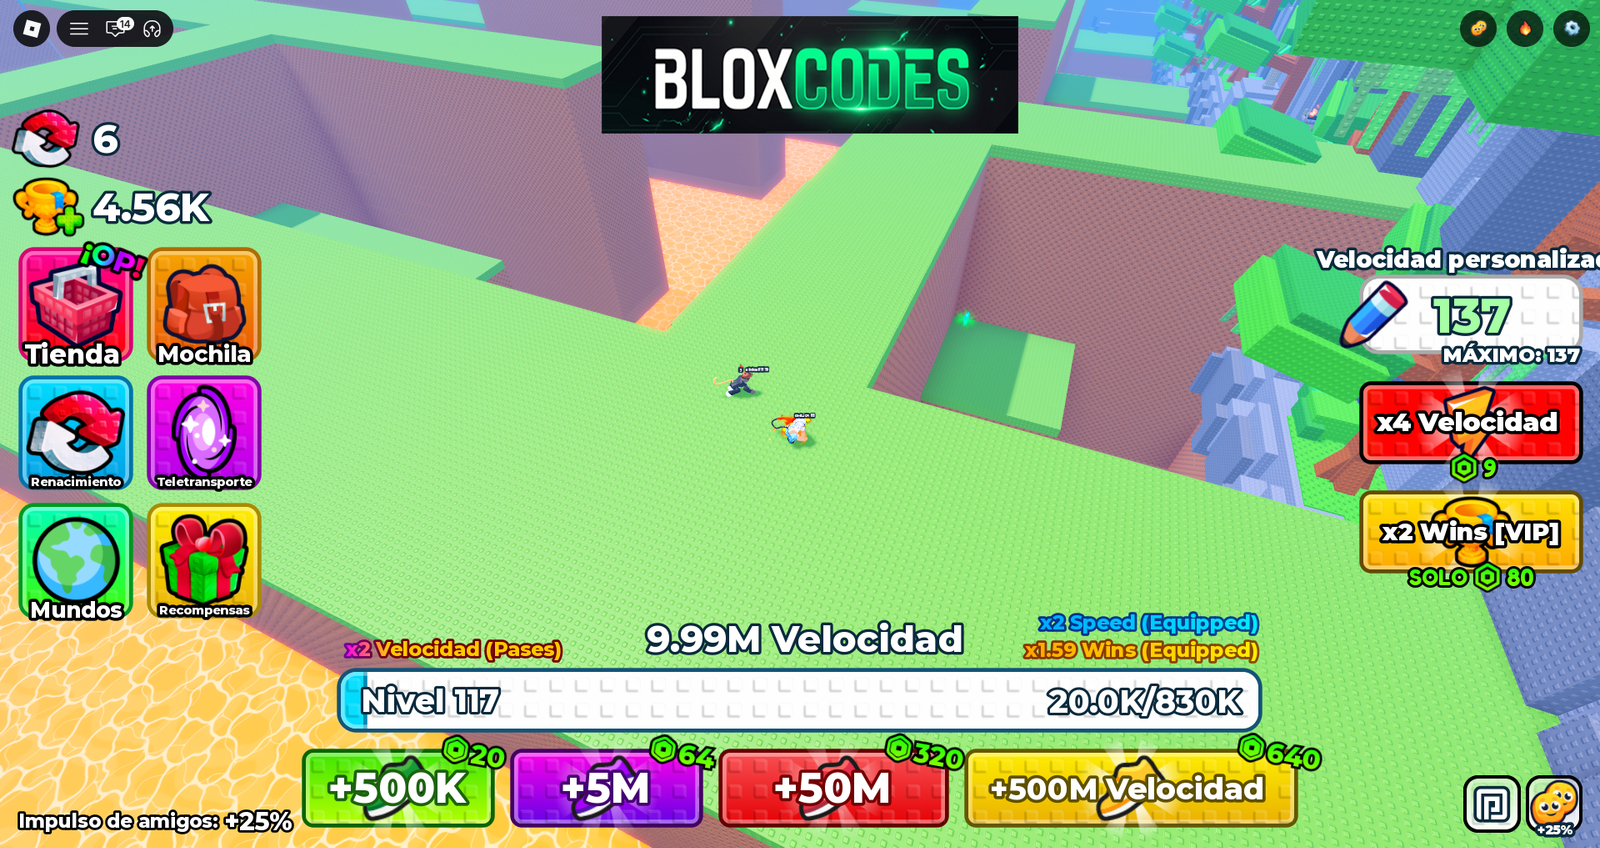
Shard #9: Stage 9 (Ocean Waves Section)
To grab the final shard, clear Stage 8 and enter Stage 9 (the ocean wave obstacle course). Time your jumps and rope swings across the platforms to reach the third walkway on the right-hand side. Collect the 9th shard here, then jump across to the finish line to claim your 200k Trophy reward!
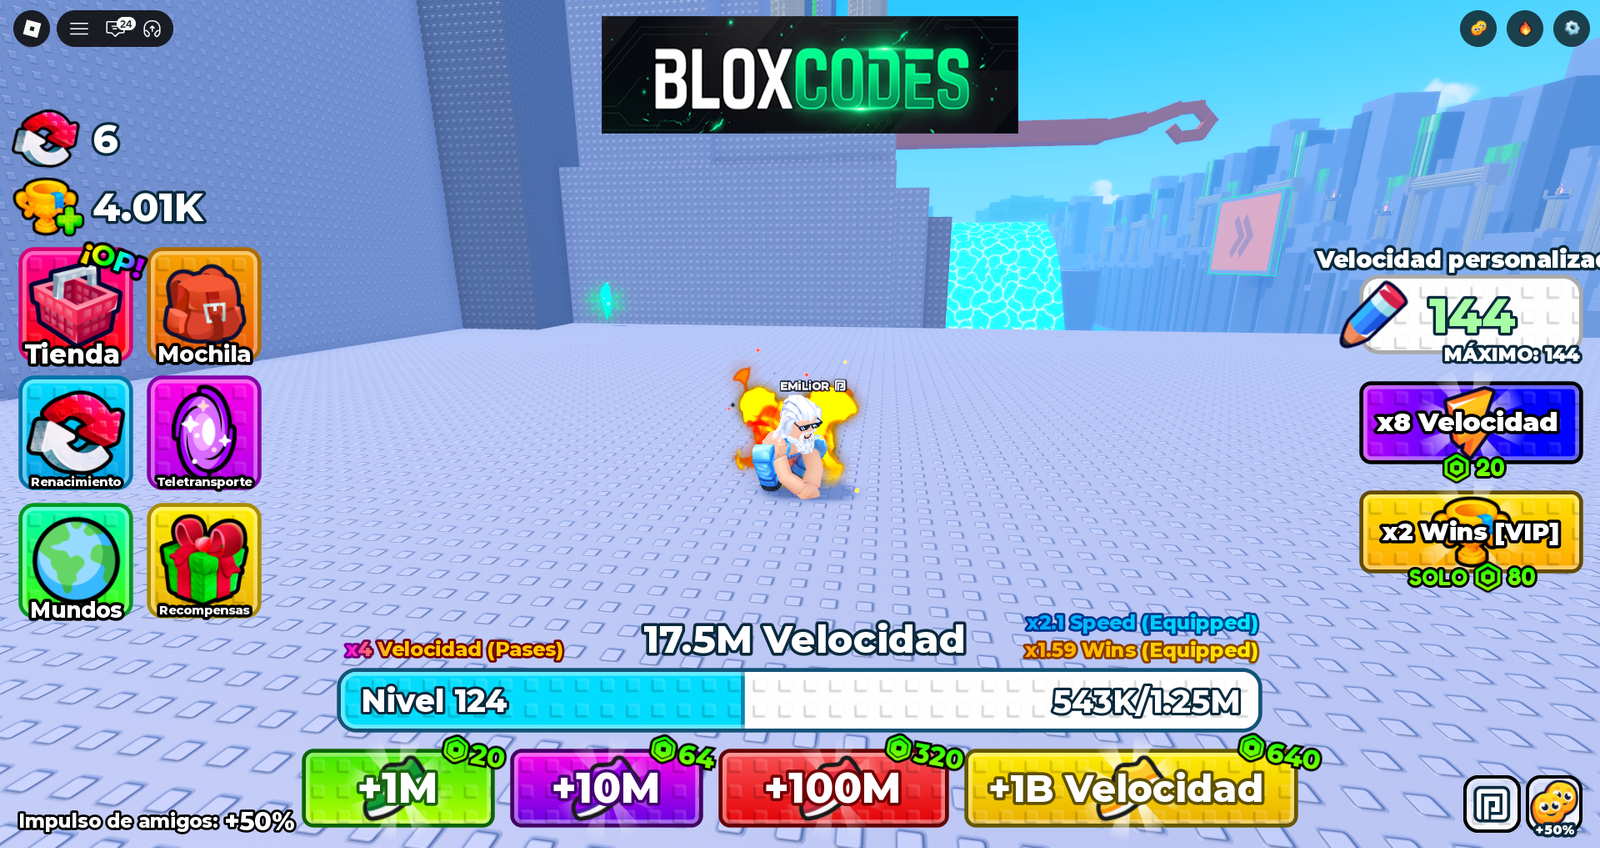
🎉 Unlocking Your Free 2x Treadmill
With all 9 Shards in your inventory, return to Stage 2 and head to the hidden mound area on the right. Step on top of the treadmill and it will activate automatically, giving you permanent double speed training!
🎥 Full Video Walkthrough (EMiLiOR Games)
Prefer a step-by-step video guide? Watch our complete gameplay run to see every single jump, swing, and shard pickup in real time:
👉 Subscribe to EMiLiOR Games on YouTube for more Roblox guides, tips, and secret locations!